Brookies Stuffed With A Peanut Butter Filling

Brookies Stuffed With A Peanut Butter Filling

How to make Brookies Stuffed With A Peanut Butter Filling
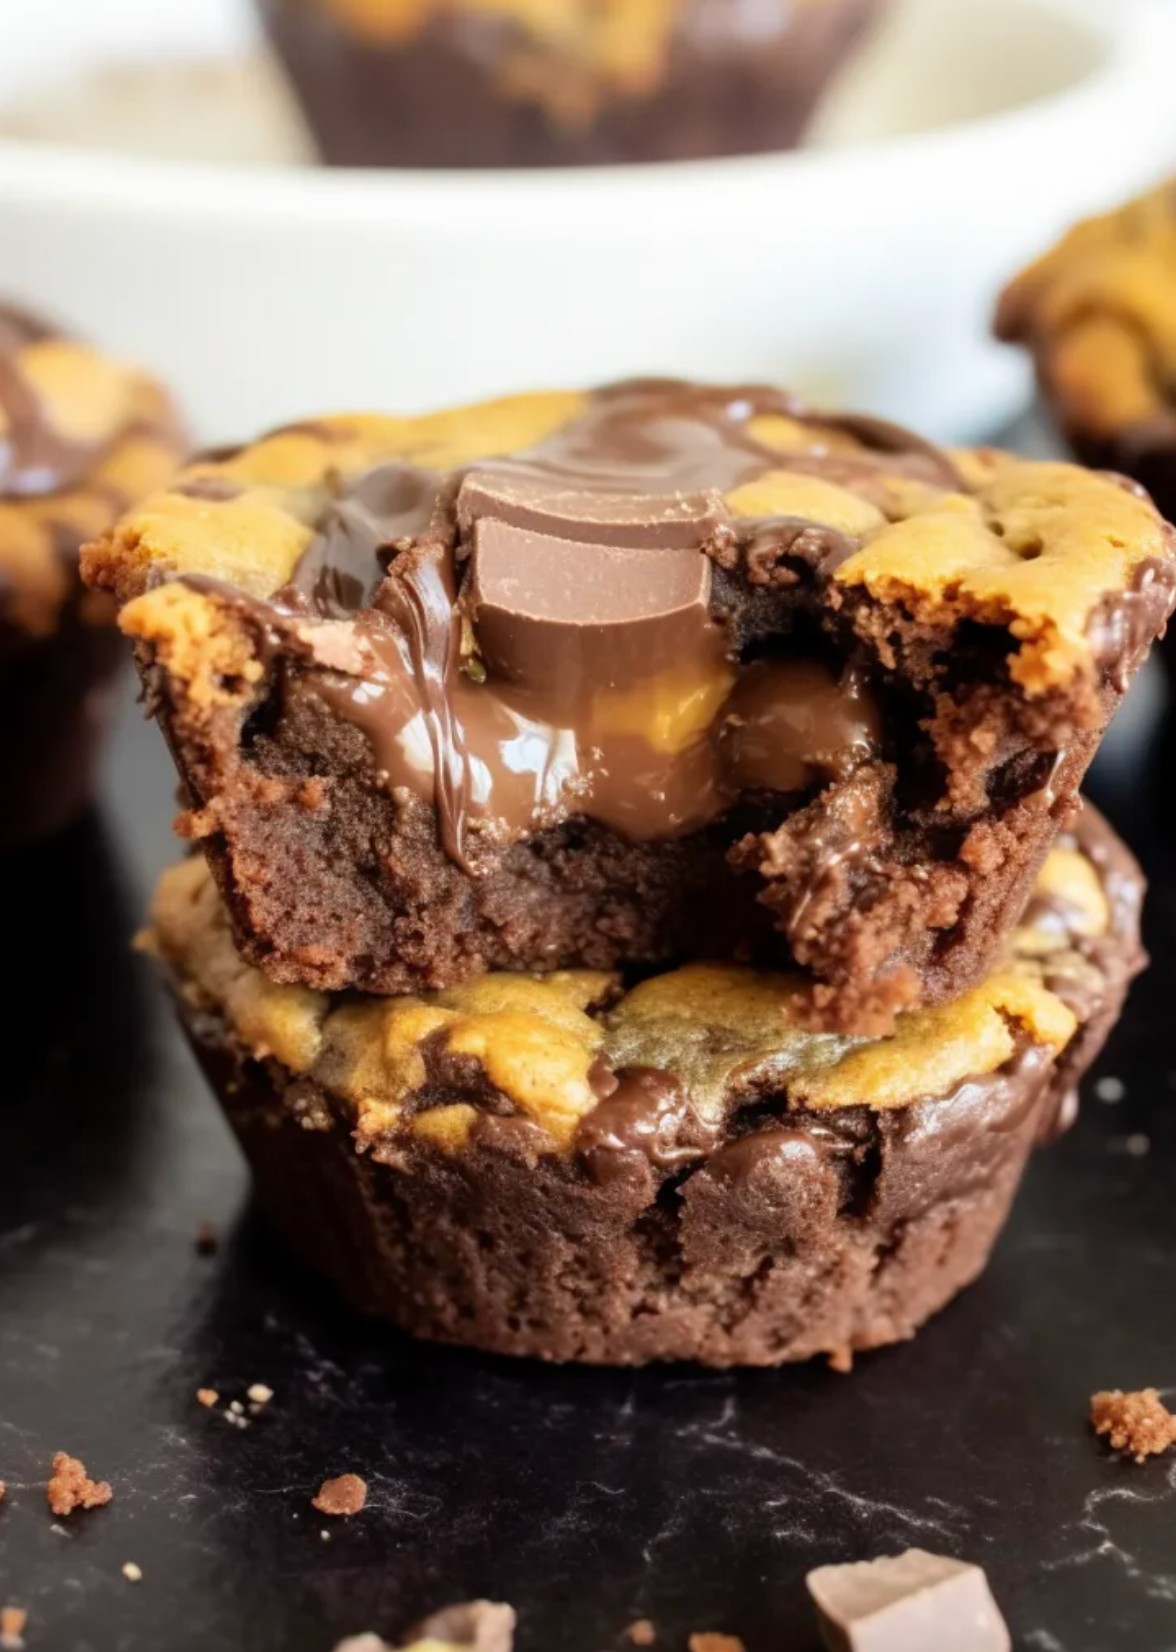
Ingredients

1 roll refrigerator Chocolate Chip Cookie Dough

1 box Brownie mix, prepared according to package directions

12 Peanut Butter Cups

Instructions

Preheat the oven to 350*

Lightly spray all cups in a muffin tin with a non stick cooking spray

Separate the cookie dough into 12 equal portions

Press one portion of chocolate chip cookie dough into each muffin cup

Place a peanut butter cup upside down on top of each portion of chocolate chip cookie dough

Fill the muffin cups the remainder of the way with brownie batter (no more than ¾ of the way full)

Bake for 20 to 25 minutes until a toothpick inserted comes out clean

Allow the brookies to cool slightly before removing from the muffin cups

Enjoy!

Nutrition Information:

YIELD: 12 SERVING SIZE: 1

Amount Per Serving: CALORIES: 116 | TOTAL FAT: 6g | SATURATED FAT: 2g | TRANS FAT: 0g | UNSATURATED FAT: 4g | CHOLESTEROL: 1mg | SODIUM: 88mg | CARBOHYDRATES: 14g | FIBER: 1g | SUGAR: 9g | PROTEIN: 2g

Frequently Asked Questions:

Can I use homemade cookie dough instead of refrigerated dough?

Absolutely! You can substitute homemade chocolate chip cookie dough if you prefer.

Ensure it’s divided into 12 equal portions as directed.

What size muffin tin should I use for this recipe?

Use a standard 12-cup muffin tin for this recipe.

Make sure to lightly spray each cup with non-stick cooking spray for easy removal.

Is there a specific type of peanut butter cup I should use?

While the recipe doesn’t specify, you can use any standard-sized peanut butter cup.

Choose your favorite brand or type for the filling.

Can I use a different type of brownie mix, like a fudgy or chewy variety?

Certainly! Feel free to use your preferred type of brownie mix.

Adjust the baking time as needed based on the package instructions and the desired consistency.

How should I store these Brookies?

Once cooled, store the Brookies in an airtight container at room temperature for a day or two.

For longer storage, refrigerate them.

They can also be frozen, individually wrapped, for an extended period.

Can I use homemade cookie dough instead of refrigerated dough?

Absolutely! You can substitute homemade chocolate chip cookie dough if you prefer.

Ensure it’s divided into 12 equal portions as directed.

What size muffin tin should I use for this recipe?

Use a standard 12-cup muffin tin for this recipe. Make sure to lightly spray each cup with non-stick cooking spray for easy removal.

Is there a specific type of peanut butter cup I should use?

While the recipe doesn’t specify, you can use any standard-sized peanut butter cup. Choose your favorite brand or type for the filling.

Can I use a different type of brownie mix, like a fudgy or chewy variety?

Certainly! Feel free to use your preferred type of brownie mix.

Adjust the baking time as needed based on the package instructions and the desired consistency.

Comments

Popular posts from this blog

Pechugas de pollo rellenas de arándanos y espinacas con queso brie

Pechugas de pollo rellenas de arándanos y espinacas con queso brie Ingredientes: 4 pechugas de pollo deshuesadas y sin piel Sal y pimienta al gusto 4 oz de queso brie, en rodajas 1 taza de espinacas frescas, salteadas 1/2 taza de arándanos rojos secos 1 cucharada de aceite de oliva Romero fresco, para decorar Opcional: arándanos rojos frescos para decorar Instrucciones: Prepara las pechugas de pollo: Precalienta el horno a 375 °F (190 °C). Corta con cuidado cada pechuga de pollo en forma horizontal para crear un  bolsillo. Sazona ambos lados con sal y pimienta. Rellena el pollo: Rellena cada bolsillo con rodajas de brie, espinacas salteadas y un puñado de  arándanos rojos secos. Usa palillos para asegurar si es necesario. Dorar y  hornear: En una sartén apta para horno, calentar el aceite de oliva a fuego medio. Dorar  cada pechuga de pollo rellena durante 2-3 minutos por lado hasta que se dore. Transferir la sartén al horno y hornear durante 15-20 minutos, o hast...

Tarro de queso y aceitunas marinado

Tarro de queso y aceitunas marinado Ingredientes 1 taza de queso en cubos (cheddar, mozzarella o provolone) 1 taza de aceitunas mixtas (verdes, kalamata o negras) 1/2 taza de pimiento rojo cortado en cubitos 1 diente de ajo picado 1 cucharadita de orégano seco 1/2 cucharadita de tomillo seco Perejil fresco picado Sal y pimienta negra al gusto 1 taza de aceite de oliva virgen extra Instrucciones Prepara los ingredientes: coloca el queso en cubos, las aceitunas, el pimiento rojo  cortado en cubitos y el ajo picado en un tarro de vidrio limpio. Agrega hierbas y condimentos: espolvorea el orégano, el tomillo, el perejil fresco,  la sal y la pimienta sobre los ingredientes en el tarro. Vierte el aceite de oliva: llena el tarro con aceite de oliva, asegurándote de que  todos los ingredientes estén cubiertos. Revuelve suavemente para mezclar todo. Marina: cierra el tarro y refrigera por al menos 2 horas (o durante la noche para un  sabor más intenso) antes de servir. Pre...

Masa filo en capas con queso brie, salsa de arándanos y nueces

Masa filo en capas con queso brie, salsa de arándanos y nueces  Ingredientes: 12 láminas de masa filo, descongeladas 8 oz (225 g) de queso brie, en rodajas finas ½ taza de salsa de arándanos (casera o comprada) ½ taza de nueces tostadas picadas gruesas 3 cucharadas de miel (más extra para rociar) 4 cucharadas de mantequilla derretida (para pincelar la masa filo) Tomillo fresco (opcional, para decorar) Instrucciones: Precaliente el horno: Precaliente el horno a 375 °F (190 °C) y cubra una bandeja  para hornear grande con papel pergamino. Prepara las capas de masa filo: Coloca una hoja de masa filo y úntala ligeramente con mantequilla derretida.  Coloca otra hoja encima y úntala con más mantequilla. Repite hasta que tengas  una pila de 6 hojas. Corta la pila en rectángulos (de unos 10 x 10 cm) y colócalos en la bandeja para  hornear preparada. Repite con las hojas de masa filo restantes para crear más  capas. Hornea la masa filo: Hornea los rectángulos de ...