There aren’t many things better than a perfect Baked Potato. This is our go-to method for how to bake potatoes with crisp salty skin and a tender and creamy center.
We love baked potatoes and make them in all sorts of different ways, from Instant Pot Baked Potatoes to Air Fryer Baked Potatoes. Follow this easy step-by-step for the best oven-baked potatoes!

This post may contain affiliate links. Read my disclosure policy.
We eat a lot of potatoes in this family. From Potato Pancakes to Au Gratin Potatoes, and Creamy Mashed Potatoes, we’re always turning the humble potato into the main character of any meal.
The Best Baked Potato Recipe
Our simple method for baking a potato in the oven never fails. These salt-crusted baked potatoes are crisp and flavorful on the outside and hot and fluffy on the inside. Enjoy these potatoes as a side dish with butter and sour cream, or load them up with toppings to make it a meal. Here’s why you’ll love this method:
- Simple – There’s nothing fancy about this method, but the potatoes always come out tasting great. You’ll never want to bake a potato in the oven any other way.
- Flavorful – Coating the outsides of your potatoes with a “crust” of oil and salt makes a world of a difference in terms of flavor.
- Perfect Every Time – We’ve consistently had the best results using this oven-baked method. The potatoes come out tender and creamy, with flavorful crispy skins.
- Make-ahead Friendly. The oven-baked potato is the best for making a large batch and feeding a crowd, and for making a little bit ahead.

How to Bake a Potato in the Oven
Here’s how easy it is to make a hot, crispy, and fluffy oven-baked potato:
- Prep – Give the potatoes a good rinse and a scrub before you start, then dry them well. Use a fork to pierce the potato all over.
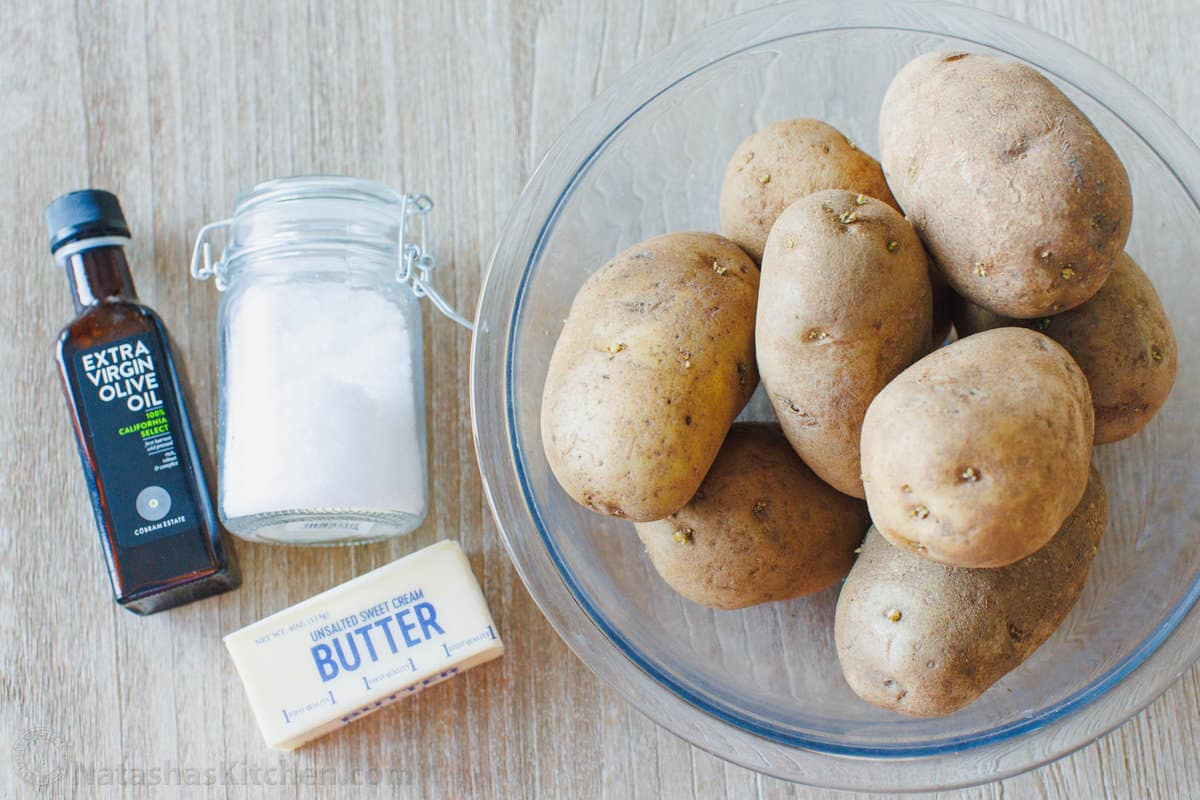
- Rub the outside of the potatoes with a bit of olive oil, and coat them generously with salt.
- Bake on a rack or baking sheet and bake at 450ºF for 45-60 minutes, depending on the size of your potatoes.
- Serve – Cut the potatoes, add a pat of butter, and your desired toppings (see the section further on for easy topping ideas).

How to Cut a Baked Potato
Cutting a baked potato is easy and leaves plenty of room for all your favorite toppings:
- Using a sharp knife, cut a slit down the middle of the potato (but not all the way through)
- Gently press the ends of the potato to open it up. Use a fork to fluff the center.

Common Questions
Russets are the best potatoes for baking, with their thick skins and high starch content. However, if you’re looking for an alternative, I’d recommend a Baked Sweet Potato.
Yes. This is necessary to let the steam escape while the potatoes are baking so that they don’t burst in the oven.
No. Wrapping potatoes in foil will make the skins soft instead of crisp. The best way to get crispy skins is to bake potatoes evenly spaced on a baking sheet or rack, to allow for airflow.
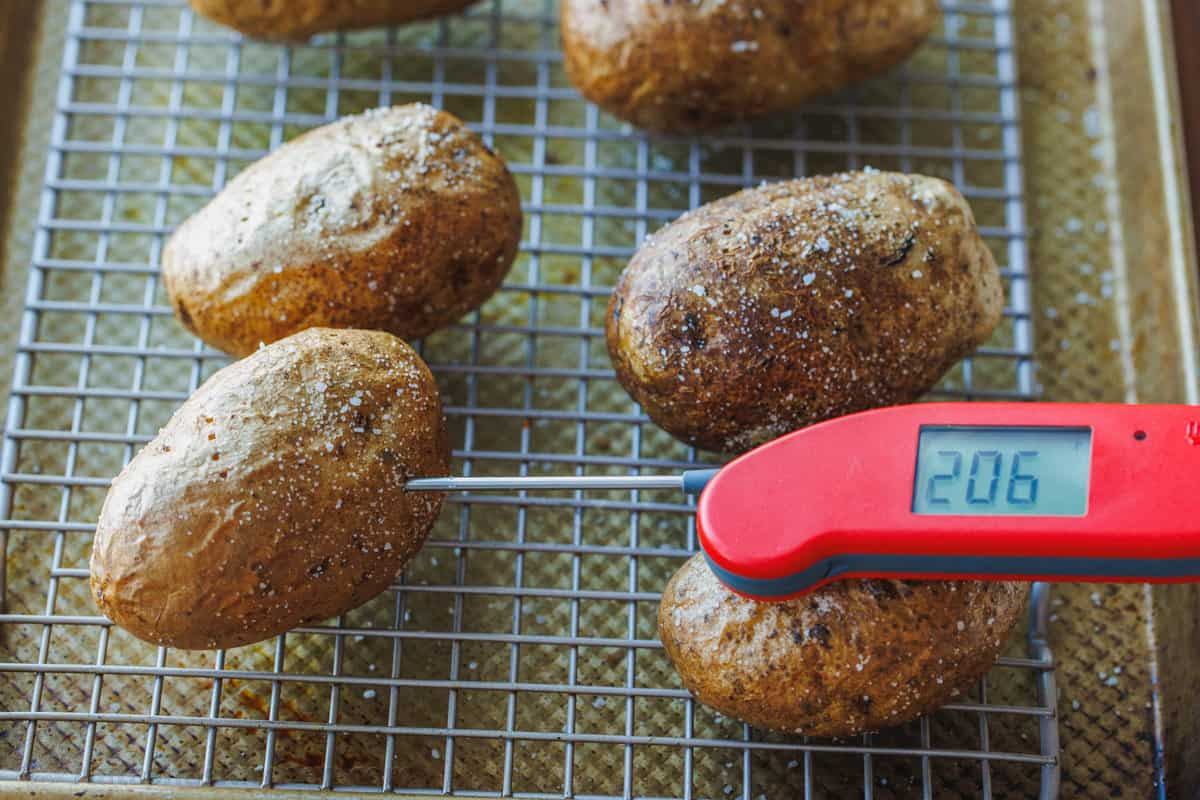
Your potatoes are baked when they can be easily pierced with a fork, and the internal temperature reaches 210ºF on an instant-read thermometer.
Classic Baked Potato Toppings
These potatoes are delicious as is, and you can never go wrong with a little butter on a hot-from-the-oven baked potato. If you’d like to kick the toppings up a notch, try these easy ideas:
- Sour Cream – Along with butter, sour cream is another favorite potato topping.
- Cheese – We love shredded Mexican cheese or grated cheddar.
- Bacon – Either cooked and crumbled Air Fryer Bacon or Baked Bacon.
- Chives – Or green onion, to garnish.
How to Serve
We love serving a perfect baked potato as a side dish, or as its own light meal piled with toppings (see above). Here are some more ways to serve a baked potato:
- Steak – Baked potatoes are a classic side to meaty dinners, whether it’s Pan-Seared Steak, or Grilled Steak.
- Chicken – a baked potato is delicious with Spatchcock Chicken or juicy Baked Chicken Breast.
- Chili – Topping a baked potato with our Chili Recipe is a comforting combination.
- Vegetables – Serve as a side with Roasted Broccoli or Roasted Brussels Sprouts.

Can I Make Baked Potatoes Ahead of Time?
Baked potatoes are always at their best when enjoyed right away, but if you need to, storing and reheating is a breeze. You can even freeze baked potatoes for another meal.
- To keep your potatoes hot: wrap each one in foil to keep warm in the oven with the residual heat. Or, you can place the wrapped potatoes inside your instant pot or slow cooker on the lowest heat or ‘keep warm’ setting. The skins will start to wrinkle and you may notice some browning after an hour or so.
- To Store: Allow the baked potatoes to cool completely, and then cover and refrigerate them for up to 4 days.
- Reheating: Reheat baked potatoes uncovered in the oven at 350ºF for 15-20 minutes to crisp the skins up again. You can also reheat potatoes in the air fryer until warmed through, as we do with our Air Fryer Baked Potatoes.
- To Freeze: Once your baked potatoes have cooled, pre-freeze the baked potatoes on a baking sheet, then transfer them to a freezer bag and freeze for 3-4 months. Thaw in the fridge before reheating.

Ways to Use Leftover Baked Potatoes
One more thing we love about potatoes is that they’re the best for leftovers. We never run out of ways to use up leftover baked potatoes in our house:
- Twice Baked Potatoes – Love baked potatoes? Mash them and then bake them again, this time topped with cheese and bacon.
- Potato Wedges – Make thick-cut wedges similar to our Baked Potato Wedges, only much faster using leftover baked potatoes. Cut your baked potatoes into wedges, brush them with oil or melted butter, season with salt and pepper, and air fry at 400ºF for 10-15 minutes, or until crisp and golden brown in spots and heated through.
- Potato Salad – Scoop out the flesh from the potato skins (but don’t throw them out! See below) and dice up the potatoes for a Potato Salad.
- Baked Potato Skins – Crispy potato skins make an easy snack or appetizer. Scoop out the potato skins as you would if you were making twice-baked potatoes. Then, brush the skins inside and out with melted butter or olive oil. Place them on a lined baking sheet and bake at 450ºF for about 20 minutes, flipping halfway through. Afterward, top them with sour cream and bacon.

Once you’ve tried this method for baking a potato in the oven, you’ll discover the difference between a good baked potato and a GREAT one. You’ll love the salty, crispy skins, and how the creamy centers of these potatoes just melt in your mouth. We can’t wait to hear what you think!
Comments
Post a Comment