
¡Aprovecha las mejores ofertas para tu cocina!

The Best Fruit Salad

The Best Fruit Salad

Welcome to the ultimate guide on creating the best fruit salad! In this comprehensive article, we’ll explore everything you need to know about crafting a delicious and nutritious fruit salad that will tantalize your taste buds and nourish your body. Whether you’re a seasoned chef or a novice in the kitchen, this guide will equip you with the knowledge and skills to create fruit salads that are not only visually appealing but also bursting with flavor and goodness.
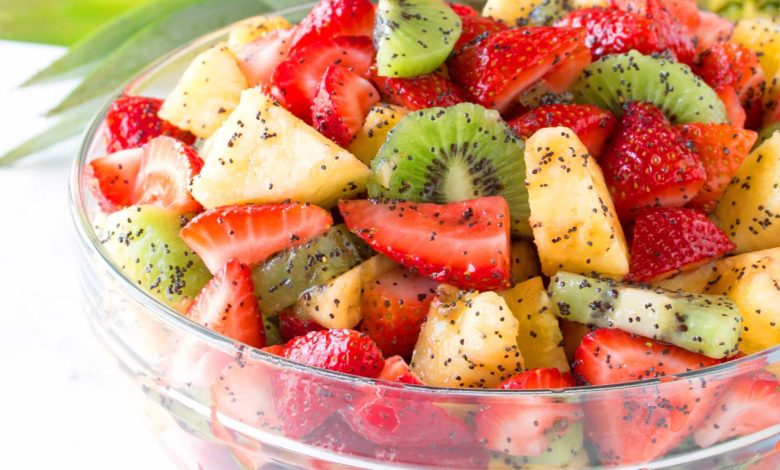
Ingredients:

IngredientsQuantity
Peach slices1 (29 ounce) can
Pineapple chunks1 (20 ounce) can
Dry vanilla instant pudding mix1 (3 1/8 ounce) box
Strawberries1 lb (quartered)

Instructions:

  1. Prepare the Ingredients:
    • Drain the peach slices and pineapple chunks from their cans.
    • Wash the strawberries thoroughly and quarter them.
  2. Mix the Pudding:
    • In a large mixing bowl, prepare the dry vanilla instant pudding mix according to the instructions on the package. This usually involves whisking the pudding mix with milk until smooth and thickened.
  3. Combine the Fruits:
    • Add the drained peach slices, pineapple chunks, and quartered strawberries to the bowl with the prepared pudding. Gently toss the fruits until they are evenly coated with the pudding mixture.
  4. Chill the Fruit Salad:
    • Cover the bowl with plastic wrap or a lid and refrigerate the fruit salad for at least 1-2 hours to allow the flavors to meld together and the salad to chill.
  5. Serve and Enjoy:
    • Once chilled, give the fruit salad a final gentle toss to redistribute the pudding coating. Serve the fruit salad chilled as a refreshing dessert, side dish, or snack.
  6. Optional Additions:
    • Feel free to customize your fruit salad by adding other fruits such as grapes, berries, or kiwi.
    • For added sweetness, you can sprinkle a little bit of sugar or honey over the fruits before mixing.
  7. Storage:
    • Any leftover fruit salad can be stored in an airtight container in the refrigerator for up to 2-3 days. Just be sure to give it a stir before serving again.

Comments

Popular posts from this blog

Pan Casero en Licuadora: ¡La Receta que Siempre Sale Bien!

Pan Casero en Licuadora: ¡La Receta que Siempre Sale Bien! ¿Te gustaría preparar un pan casero sin amasar y sin complicaciones? Esta receta es ideal para ti: fácil, rápida y con un resultado espectacular. Un pan suave, dorado y lleno de amor, perfecto para compartir en familia o disfrutar con tu café de la tarde. ¡Anímate a probar esta delicia hecha en casa! Ingredientes: 2 tazas de leche tibia 1/2 taza de aceite 2 huevos 1 cucharadita de sal 2 cucharadas de azúcar 1 sobre (10g) de levadura seca (biológica) 4 tazas de harina de trigo Modo de Preparación: Coloca en la licuadora la leche tibia, el aceite, los huevos, la sal, el azúcar y la levadura. Licúa durante 2 minutos hasta que todo esté bien mezclado. Pasa la mezcla a un bol amplio y añade la harina poco a poco, removiendo hasta obtener una masa densa pero manejable. Engrasa moldes para pan y llena hasta la mitad para permitir que la masa leve correctamente. Cubre con un paño limpio y deja reposar en un lugar cálido ...

Pechugas de pollo rellenas de arándanos y espinacas con queso brie

Pechugas de pollo rellenas de arándanos y espinacas con queso brie Ingredientes: 4 pechugas de pollo deshuesadas y sin piel Sal y pimienta al gusto 4 oz de queso brie, en rodajas 1 taza de espinacas frescas, salteadas 1/2 taza de arándanos rojos secos 1 cucharada de aceite de oliva Romero fresco, para decorar Opcional: arándanos rojos frescos para decorar Instrucciones: Prepara las pechugas de pollo: Precalienta el horno a 375 °F (190 °C). Corta con cuidado cada pechuga de pollo en forma horizontal para crear un  bolsillo. Sazona ambos lados con sal y pimienta. Rellena el pollo: Rellena cada bolsillo con rodajas de brie, espinacas salteadas y un puñado de  arándanos rojos secos. Usa palillos para asegurar si es necesario. Dorar y  hornear: En una sartén apta para horno, calentar el aceite de oliva a fuego medio. Dorar  cada pechuga de pollo rellena durante 2-3 minutos por lado hasta que se dore. Transferir la sartén al horno y hornear durante 15-20 minutos, o hast...

El Gratinado de Papas Que Te Hará Volver Por Más”

El Gratinado de Papas Que Te Hará Volver Por Más” Ingredientes: 4 papas grandes (amarillas o russet) 200 ml de crema de leche o nata líquida 100 ml de leche entera 100 g de queso rallado (cheddar, gouda o parmesano) 30 g de mantequilla 1 diente de ajo picado o en polvo Sal y pimienta al gusto Nuez moscada (opcional) Extras opcionales: jamón en cubos, tocino, mostaza dijon, tomillo o perejil fresco Instrucciones: Lava, pela y corta las papas en rodajas finas (3 mm). Déjalas en agua fría para que no se oxiden. Prepara la salsa: Derrite la mantequilla en una cacerola, agrega el ajo y sofríe brevemente. Añade la crema y la leche, salpimenta y añade nuez moscada si lo prefieres. Cocina hasta que la mezcla espese un poco. Arma el gratinado: Engrasa una fuente para horno, coloca una capa de papas, un poco de salsa y espolvorea queso rallado. Repite las capas y termina con abundante queso encima. Hornea: Cubre con papel aluminio y hornea a 180°C durante 40 minutos. Quita el papel y hor...